
Managing Information Files
Using the Information Files manager, system administrators can view and download the generated report and dump files, as well as e-mail them to Intershop Support.

Viewing and Downloading Files
-
In the Intershop System Management navigation bar, open Installation Maintenance | Information Files.
This opens the Information Files detail page, displaying a list of generated files.
-
In the row of the intended file, click View or, respectively, Download.
The file is displayed in the Intershop System Management window, or, respectively, the browser's download dialog is opened, prompting you to save the file.
E-Mailing Files
Note:
To e-mail generated report or dump files:Sending information files via e-mail requires a properly configured server for outgoing e-mails (
intershop.SMTPServer in appserver.properties).-
In the Intershop System Management navigation bar, open Installation Maintenance | Information Files.
This opens the Information Files detail page, displaying a list of generated files.
-
Select the file(s) to be e-mailed.
Mark the corresponding checkbox(es).Note:Larger files cannot be sent by e-mail and therefore cannot be selected. The corresponding limit is controlled by the property
intershop.mail.attachment.maxsizein cluster_information.properties. -
Click Send.
This opens the e-mail dialog as illustrated in the figure below.
Figure 2. E-mail data transfer 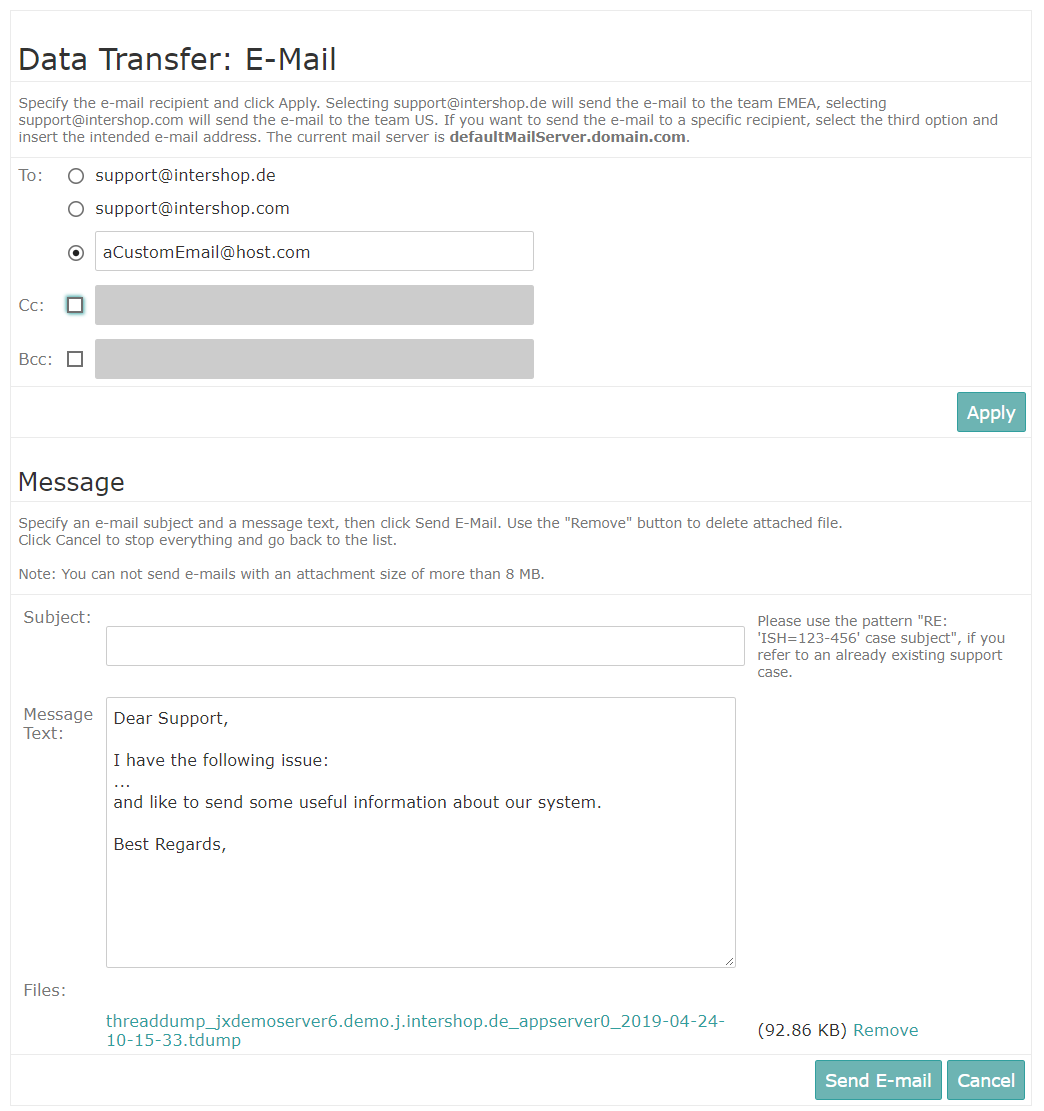
-
Specify the intended e-mail recipient(s).
Select either a preconfigured recipient, i.e., the team EMEA or the team US of Intershop Support, or specify a particular recipient. Furthermore, you can specify additional recipients using the Cc and Bcc fields.
- Click Apply to set the e-mail recipient(s).
-
In the Message section, specify an e-mail subject and edit the message text as necessary.
If you refer to an existing support case, use the corresponding case ID as subject. You can remove an attached file from the e-mail by clicking Remove next to the intended file.
-
Click Send E-mail.
The e-mail including the attached information file(s) is sent to the specified recipient(s).