
Changing Logging Settings
Changing the logging settings via Intershop System Management means customizing the level filters and category assignments for the existing appenders.
Selecting the Settings Scope
First choose whether to define cluster-wide or application-server-specific logging settings:
-
To define cluster-wide settings, open Logging | Cluster Wide Settings in the Intershop System Management navigation bar.
-
To define application-server-specific settings, proceed as described in Define Settings Scope, and apply the Use Application-Server-Specific Settings option.
Note:
The further logging options apply to both the cluster-wide and the application-server-specific settings.
Setting the Level Filter
-
Open the Logging Settings for the cluster or an application server.
See Define Settings Scope for details.
-
In the Appender section, click the appender to change.
The appender's detail page is displayed.
-
In the Level Filter section, select the filter level to use.
Figure 1. Selecting a level filter 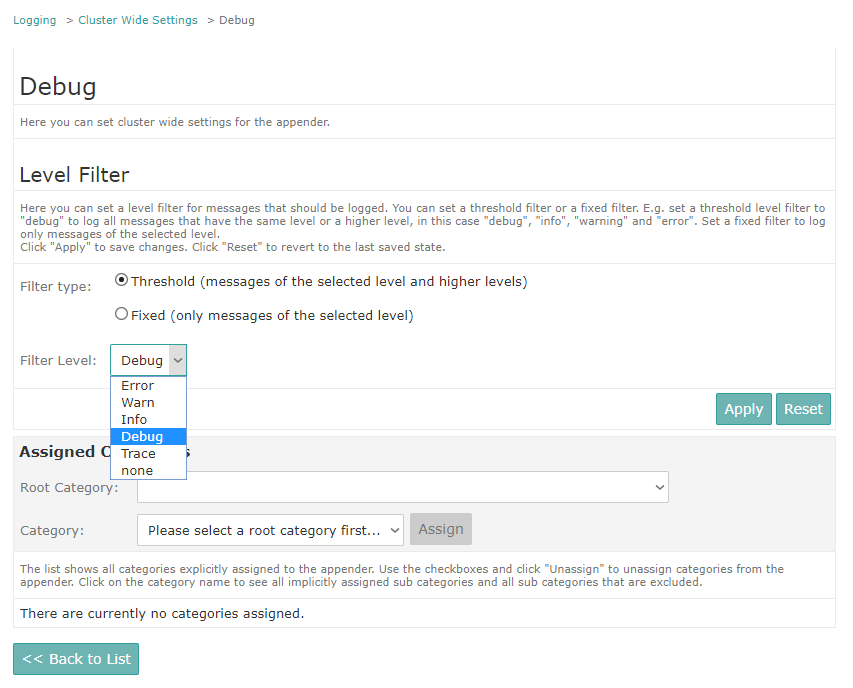
-
Click Apply to save your changes.
Clicking Reset reverts to the last saved state.
Managing Categories
Note:
The category lists delivered by the Intershop System Management Logging module only display categories that are known to the logging system at the given time. A category is known if it is explicitly mentioned in a configuration file or after the corresponding application code has issued a log request for this category.
Assigning Categories
-
Open the Logging Settings for the cluster or an application server.
Note:When choosing an application server, change the Settings Scope to Use Application-Server-Specific Settings and click Apply.
-
In the Appender section, click the appender to change.
The appender's detail page is displayed.
-
In the Assigned Categories section, select the required categories.
Before setting the required category level, you must select a root category (with
additivity="false") that limits the appender inheritance, see Guide - Application Logging Administration).The category drop-down list allows for selecting all sub categories of the given root category that are not already included.Figure 2. Assigning a category to an appender 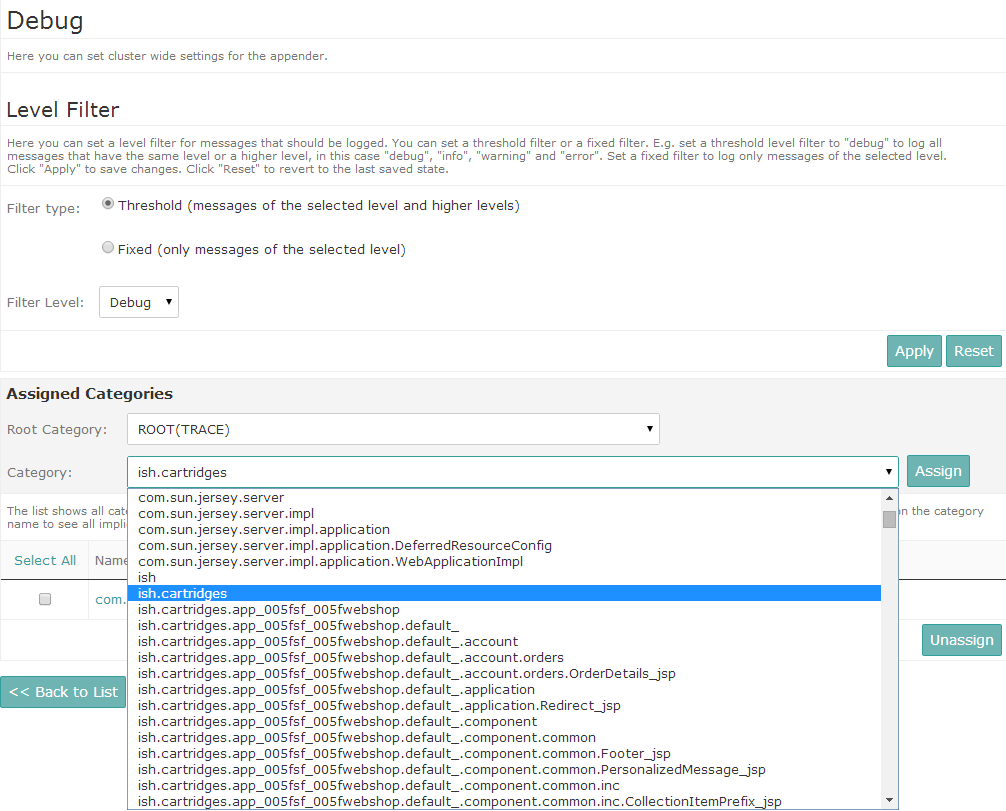
-
Click Assign to save the selected category with the appender.
Clicking Back to List returns you to the Appender List overview page without assigning the category to the appender.
Viewing Sub Categories
Categories may include sub categories that are included automatically when creating assignments for appenders.
- Open the Logging Settings for the cluster or an application server.
-
In the Appender section, click the appender to change.
The appender's detail page is displayed.
-
In the Assigned Categories list, click the name of an assigned category.
The Sub Categories page is displayed.
Figure 3. Example - automatically included sub categories 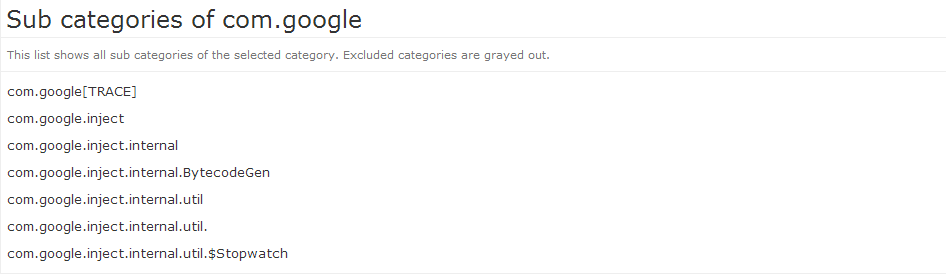
- Click Back to return to the appender's detail page.